


Hourly's "Getting Started" tour
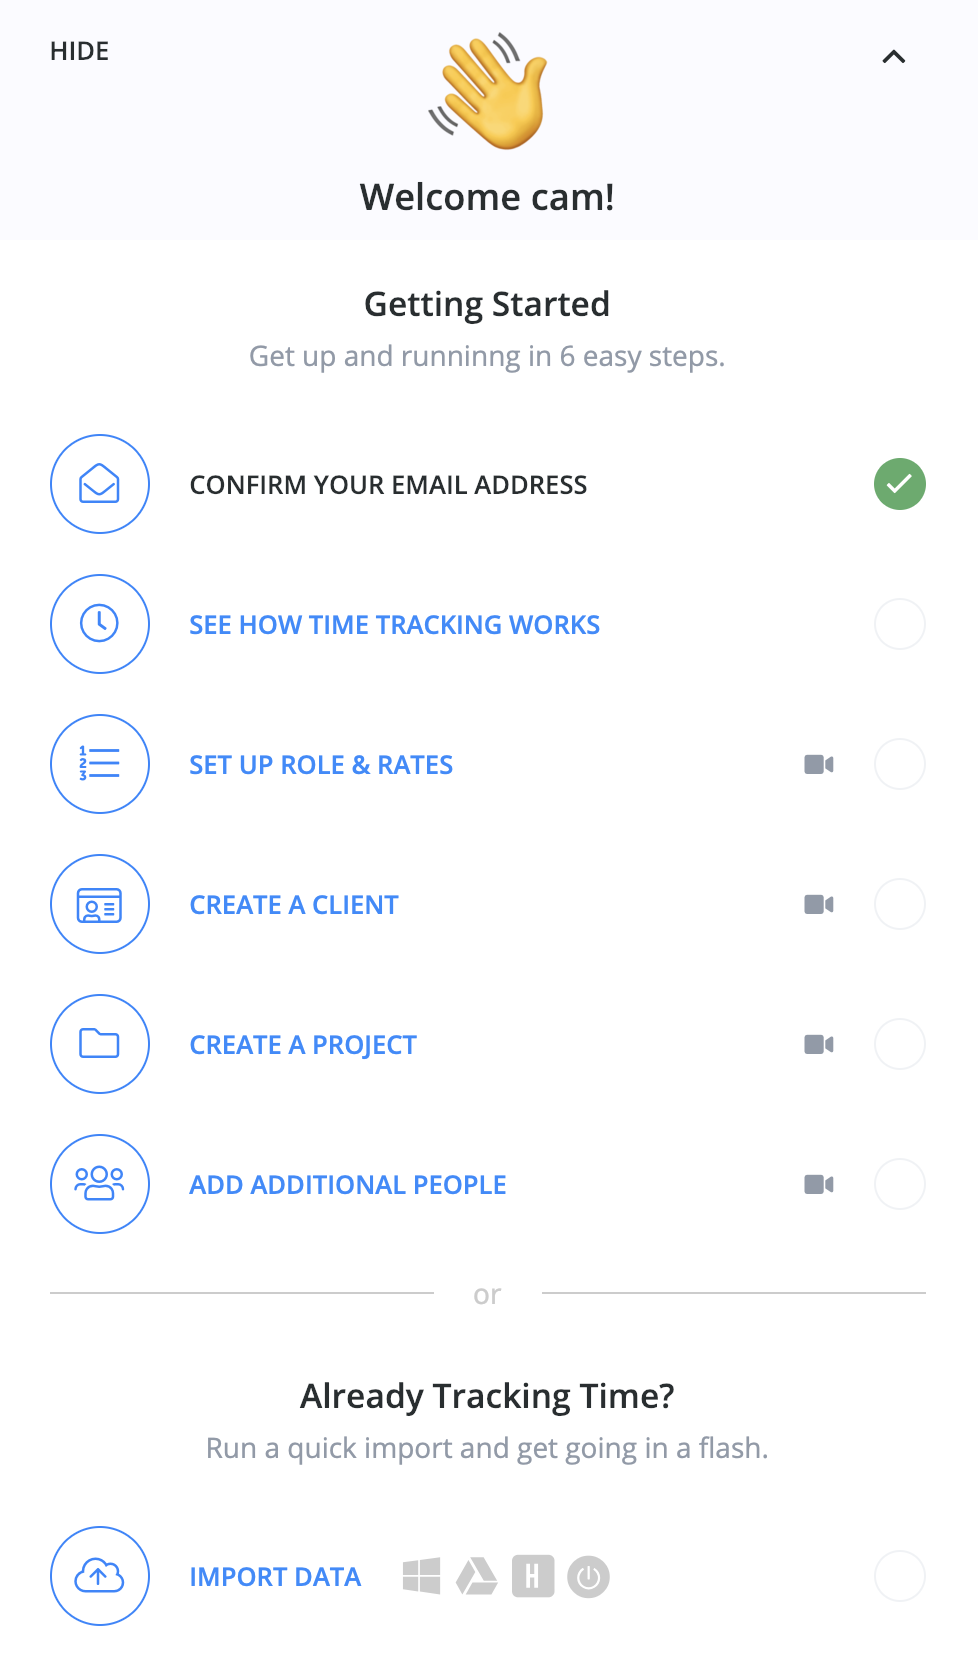
When you first login to Hourly, you'll be greeted with a welcome prompt that has 6 suggested steps to get you up and running.
Tip: You can minimise the prompt to get it out of the way (click the up arrow in the top right) or hide it (it returns to the drop-down menu under your name if you want to refer to it later).
Here's the prompt:
Here's a quick break down of what each step involves:
1. See how time tracking works
A quick guided tour showing you the time page and its components.
2. Set up Roles & Rates
Is a link to your account's Roles and Rates page. There's also a helpful video that shows you how to to add a role and set rates (click on the video camera icon to view).
3. Create a Client
Brings up the New Client dialog. There's also a helpful video that shows you how to to complete the Add Client dialog (click on the video camera icon to view).
4. Create a Project
Brings up the New Project dialog. There's also a helpful video that shows you how to to complete the Add Project dialog (click on the video camera icon to view).
5. Add Additional People
Brings up the Add Person dialog. There's also a helpful video that shows you how to to complete the Add Project dialog (click on the video camera icon to view).
6. Import Data
Is a link to the import page so that you can import any existing data you might have. You can import time entries, clients, people and/or projects.