


Xero integration overview
Create invoices automatically in Xero
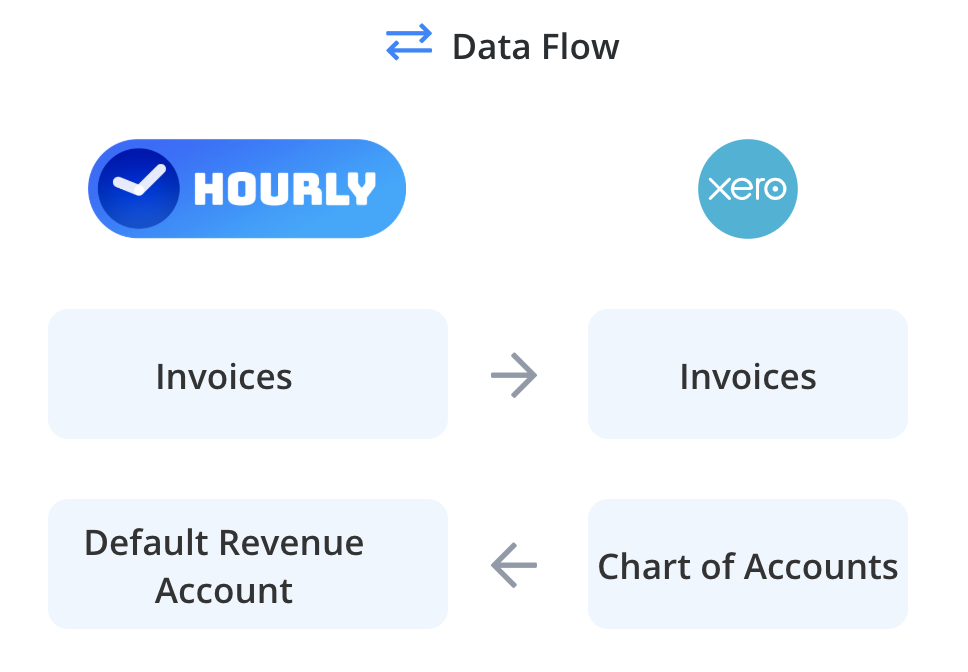
When approving invoices in Hourly, users can choose to automatically create a matching invoice in their Xero account. This helps keep accounts up to date and minimises duplication of work. As part of this functionality, you can assign a default revenue account where Hourly invoices will be posted in Xero.
Here's how information flows between Hourly & Xero:
A quick note:
Only Hourly admin users can work
with invoices in Hourly.
To manage this setting on an invoice, open a draft invoice and check the Xero icon in the invoice details section (top right of the invoice). There are three possible states:
1) Not connected (shown by a greyed out Xero icon with no logo).
2) Connected but not adding invoices in Xero (shown by a greyed out Xero logo).
3) Connected and adding invoices in Xero (shown by a Xero logo and green arrow icon).
Click Edit to open the Edit Invoice Details dialog and toggle the checkbox with the adjacent text Add Invoice in Xero. Click Update to save your changes.
A quick note: These settings are retained for on your next invoice (unless changed).
Access Xero invoices from Hourly
Once an invoice has been approved and added to Xero, you will see a Xero button next to the other links for PDF, Print and Web. Click this button to open the invoice in Xero.
Customer matching
When Hourly creates an invoice in Xero it can match the customer if the name is the same or similar in both systems. If the matching is unsuccessful you'll have to select or create the customer in Xero.
Revenue account configuration
Hourly uses the default revenue account configured on Hourly's Account page on the Integration tab in the Xero section. Users can override this on a line item basis in Xero if needed.